Building a tiny house might sound like an ambitious project, but with the right planning and elbow grease, a determined DIYer can pull it off. Whether you’re drawn to the minimalist lifestyle, looking for a cost-effective home, or planning an accessory dwelling unit (ADU) for a family member, tiny house construction follows the same core principles as full-size homes, just compressed. This guide walks you through the essential phases: design, materials, framing, and finishing. We’ll cover what you can tackle solo and where you genuinely need professional help (or a permit). Let’s dig in.
Table of Contents
ToggleKey Takeaways
- Making a tiny house is achievable for determined DIYers by following core principles: design, materials, framing, and finishing—with foundation work and utility installation requiring professional help.
- Start with a solid tiny house design on graph paper, choose between a trailer-based (mobile) or permanent foundation build, and verify local zoning and permit requirements before breaking ground.
- Budget realistically for a tiny house: $25,000–$60,000 for materials depending on foundation type and region, then add 15% for waste since electrical/plumbing costs don’t scale down proportionally.
- Foundation and framing are critical DIY-or-hire decisions—get the foundation right first, use proper load-bearing alignment, and brace walls safely with a helper to avoid structural failures.
- Install insulation and drywall as DIY-friendly interior tasks, hire licensed electricians and plumbers for utilities (code-required in most areas), and maximize tiny house space with multi-functional furniture and vertical storage.
Plan Your Tiny House Design And Layout
Before you pour a foundation or cut a single board, you need a solid design. Tiny houses typically range from 300 to 500 square feet, though some go smaller. The key is efficiency, every square foot counts, so layout decisions compound quickly.
Start by defining your footprint. Will it sit on a trailer (mobile tiny house) or a permanent foundation? Trailer-based builds are mobile and easier for a DIYer to test locally before committing: permanent foundations require a cleared lot and local approval. Both paths require different framing strategies. A trailer-based tiny house needs reinforced lower walls for towing: a foundation-built house can follow standard IRC (International Residential Code) stud spacing and load-bearing rules.
Assess Your Space And Budget Requirements
Measure your available land or the footprint you’re targeting. Most codes require a minimum height (usually 7 feet 6 inches at the walls to meet habitability standards), so account for that early. Sketch a rough floor plan on paper, bedroom, bathroom, kitchen, living space, and consider traffic flow. You don’t need fancy CAD software: graph paper works fine.
Budget is equally critical. A tiny house on a permanent foundation might run $30,000 to $60,000+ in materials alone for a quality build, while trailer-based versions can cost $25,000 to $50,000. Costs vary wildly by region, lumber prices, and material quality. Paint, roofing, and electrical/plumbing systems don’t scale down proportionally, so per-square-foot costs are often higher than larger homes. Before moving forward, check your local zoning ordinances, many areas restrict ADUs or tiny homes on certain lots. Some jurisdictions require permits and inspections at multiple stages (foundation, framing, rough-in utilities, final): others are more flexible. Calling your building department first saves months of rework later.
Gather Materials And Essential Tools
Create a detailed material list before shopping. For a 400-square-foot tiny house on a permanent foundation, plan for roughly:
- Lumber: 2×6 treated rim board and rim joists for foundation, 2×4 studs and top/bottom plates (nominal sizes: actual dimensions are 1.5″ × 3.5″), 2×8 or 2×10 joists for floors and roof depending on span, plywood subfloor (⅝” tongue-and-groove is standard), OSB or plywood for roof sheathing, exterior plywood for walls before siding
- Concrete & Foundation: Sonotube or similar for posts/piers if you’re doing a post-and-beam setup: concrete mix, rebar, gravel for leveling
- Roofing: Underlayment, roofing felt, shingles or metal panels, flashing, gutters
- Exterior Siding & Trim: Your choice of siding (wood, metal, engineered composite), paint or stain (plan ~1 gallon per 350 square feet for exterior walls), caulk, fasteners
- Interior Finishings: Drywall (½” standard for walls, ⅝” for fire-rated areas), tape and joint compound (mudding supplies), insulation (fiberglass batts, foam board, or cellulose, choose based on climate), flooring material
- Electrical & Plumbing: Romex cable (12/2 or 14/2 gauge, depending on circuit), outlet boxes, breaker panel, water supply lines (PEX or copper), drain lines (PVC), fixtures
Estimate material costs conservatively and add 15% for waste and mistakes, that’s real-world building.
Essential tools for tiny house framing include a corded or cordless drill-driver, miter saw (cleaner angle cuts than a circular saw), circular saw (backup for rips), reciprocating saw (demo and rough cuts), level (2-foot and 4-foot), speed square (quick angles), tape measure (25-foot minimum), pneumatic nail gun and compressor (or cordless nailer to save hassle), hammer, hand saw, utility knife, stud finder, and basic hand tools (wrench, adjustable wrench, screwdrivers). For electrical and plumbing work, if you’re not licensed, hire professionals, most codes require licensed electricians and plumbers for final sign-off anyway, and mistakes are costly and unsafe.
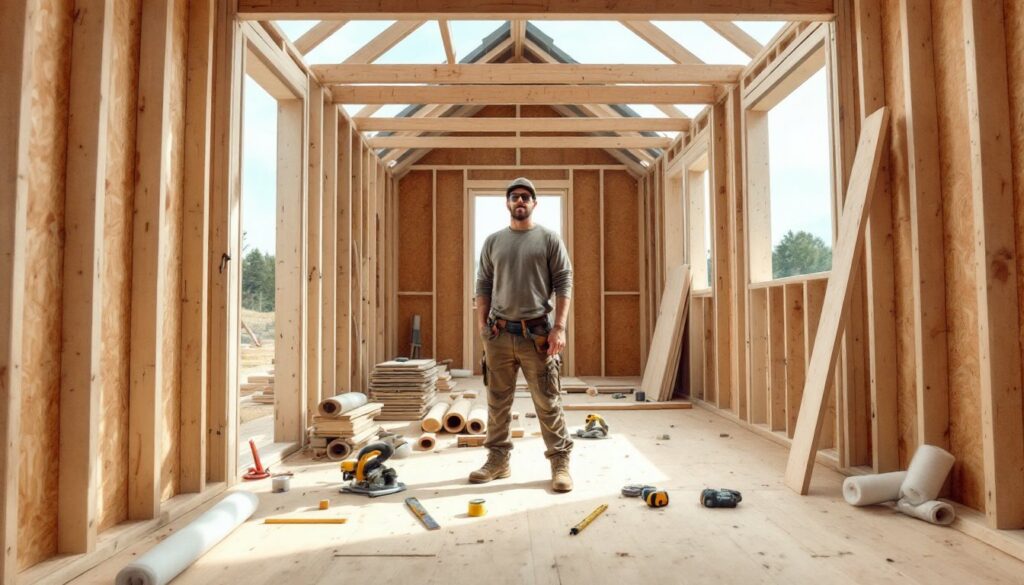
Build The Foundation And Framing
Foundation work is one area where cutting corners costs dearly. If you’re on a permanent lot, a concrete slab, piers, or a shallow frost-protected foundation (depending on your climate) are your main options. Check local frost depth requirements, in cold climates, footings must go below the frost line or freeze-thaw cycles will heave and crack your house. If you’re handy with concrete, you can DIY a slab or pier system, but most builders hire this out. It’s not the flashiest part, but it’s foundational (literally).
Construct Walls And Install Roofing
Once the foundation is set and cured, framing is where momentum builds. Lay your treated sill plate (2×6, bolted to the foundation per code, typically ½” anchor bolts every 6 feet) and begin walls. For a standard tiny house using platform framing:
- Lay out and cut wall plates (top and bottom 2×4s) on the subfloor. Mark stud locations every 16 inches on center (or 24″ for non-load-bearing walls). Use a speed square for accuracy.
- Cut studs to length. Standard wall height is 8 feet, but nominal 2×4s are 3.5″ tall, so studs are cut to 92.5″ for standard 8-foot ceilings (accounting for plates). Verify your ceiling height requirement locally, some codes allow 7’6″ minimum.
- Assemble walls flat on the subfloor, using a pneumatic nailer (3″ nails, 2 per stud at plates) or deck screws (2½”, two per connection). Measure diagonals to square the frame before standing it up.
- Stand walls and brace temporarily with 2×4 diagonal bracing or rented wall jacks. Have a helper, solo wall raising is dangerous and nearly impossible.
- Sheathe exterior walls with ½” plywood or OSB, securing with 8d nails or screws 12″ apart at edges, 16″ in the field. This is your weather barrier and lateral bracing.
- Install the roof. Use 2×8 or larger rafters (span depends on snow load and pitch, check frost-load tables for your region). Alternatively, use engineered trusses (made off-site and delivered), which speed things up. Install roof sheathing (½” OSB or plywood), then underlayment, then roofing felt and shingles or metal panels. Flashing at valleys, penetrations, and edges prevents leaks, don’t skimp here.
Throughout framing, maintain proper load-bearing alignment. Walls must stack above each other, and load paths must flow to the foundation. An oversized attic or an unexplained gap above a door might look fine visually but violate code. If you’re uncertain about structural requirements, consult advanced construction techniques or a structural engineer for a few hours of paid guidance, it pays back.
Install Utilities And Final Finishes
Utilities are the spine of modern living, and tiny houses demand smart planning. Water, power, and waste removal are compact but non-negotiable.
Electrical, Plumbing, And Interior Design Touches
Electrical work requires a licensed electrician in most jurisdictions and must pass inspection. That said, understand the basics: your service panel (breaker box) supplies circuits: each circuit runs Romex cable (typically 14/2 for 15-amp, 12/2 for 20-amp circuits) from the breaker to outlets, switches, and fixtures. In a tiny house, plan for at least 100 amps of service (code minimum is often 60, but you’ll regret it). Locate outlets every 12 feet along walls and plan dedicated circuits for kitchen (two), laundry, and any high-draw appliances. Have a licensed electrician run final connections and obtain sign-off.
Plumbing also typically requires a licensed professional, though rough-in (running supply and drain lines) can be done by a knowledgeable DIYer if inspected. Use PEX tubing (flexible, easier to run than copper) for supply lines and Schedule 40 PVC for drains (ABS is used in some regions). Slope drain lines ¼” per foot downhill toward the main stack or septic system. In a tiny space, careful routing avoids conflicts between systems and keeps maintenance accessible.
Insulation and drywall are DIY-friendly interior tasks. Install insulation before closing walls, standard fiberglass batts (R-13 for 2×4 walls, R-19 for 2×6) are affordable and straightforward. Wear a dust mask and gloves: fiberglass irritates lungs and skin. Once insulated, hang ½” drywall, tape seams with joint compound (mud), sand lightly between coats, and paint. In a tiny house, bold accent walls or light colors make spaces feel larger. Flooring options range from budget-friendly vinyl plank (realistic wood-look options abound) to hardwood or tile. Vinyl plank is forgiving for DIYers and durable underfoot.
Interior design in a tiny house hinges on multi-functional furniture and vertical storage. Built-in shelving, lofted beds with storage below, and wall-mounted desks maximize square footage. If you’re drawn to open-concept, keep islands and dividers minimal to maintain sightlines. Design inspiration abounds on platforms like Apartment Therapy, which specializes in small-space living. For construction inspiration and real-world builds, Dwell’s collection of tiny homes showcases what’s possible on modest budgets.
Final finishes include painting, trim, and hardware. Use primer and quality paint (one coat of primer, two of finish paint: plan ~1 gallon per 350 square feet). Install baseboard trim, door frames, and cabinet trim last. These small touches feel disproportionately satisfying and protect edges from damage.